
Jul
Uncategorized
How to Build the Perfect Fire Every Time
“How hard can it be?” It’s a phrase uttered by many when it comes to building a fire and getting a wood-fired pizza oven started up. The truth is, it’s not that hard at all. But building a fire and building a strong, consistent, long-lasting fire are two entirely different things. That’s why in this article, we’re going to give you a method to swear by for a fire that behaves itself, every single time.
Step 1: Positioning
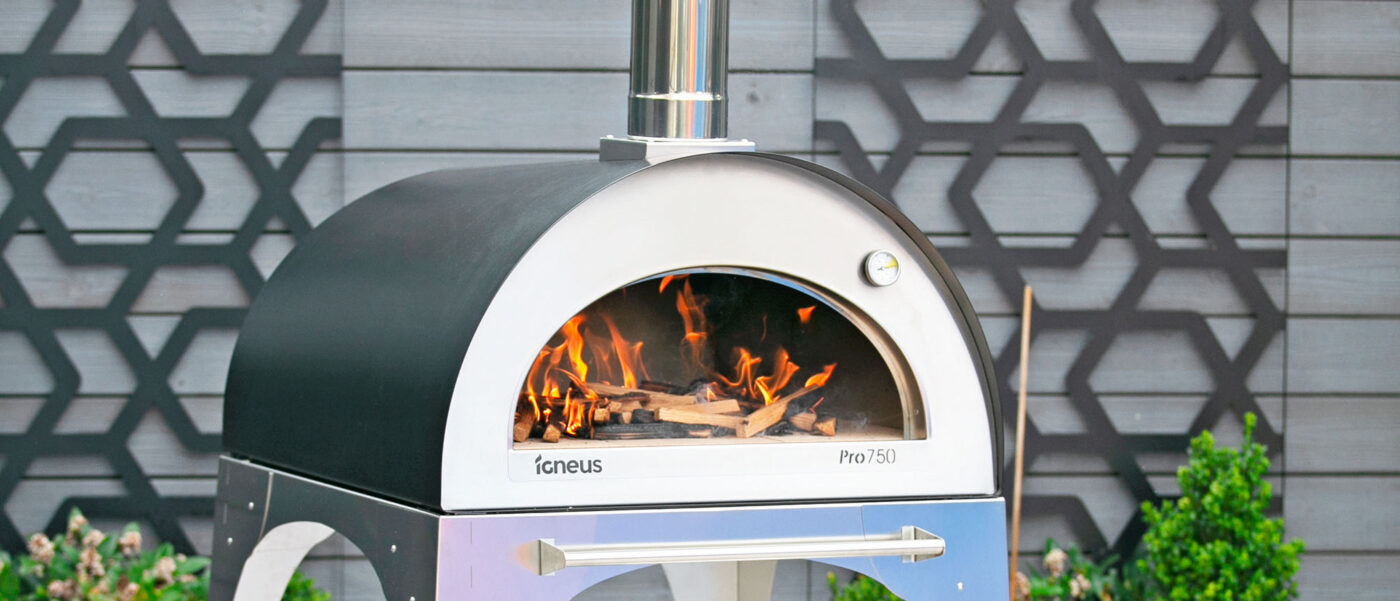
First things first, build your fire in the centre of the cooking stone, not pushed to the back. It might feel counterintuitive because, of course, the fire will ultimately be positioned at the back of the oven; however, not only does it make it easier to build the fire, but it also heats the stone more effectively. After all, getting the stone saturated and up to temperature is half the battle. A hot stone gives you that crisp, blistered base, while the flame above takes care of the toppings.
Igneus Pro Tip: A cold stone is the number one reason for a soggy base. Give it the time it needs before you even think about launching that first pizza.
Step 2: Lay Your Firelighters and Kindling
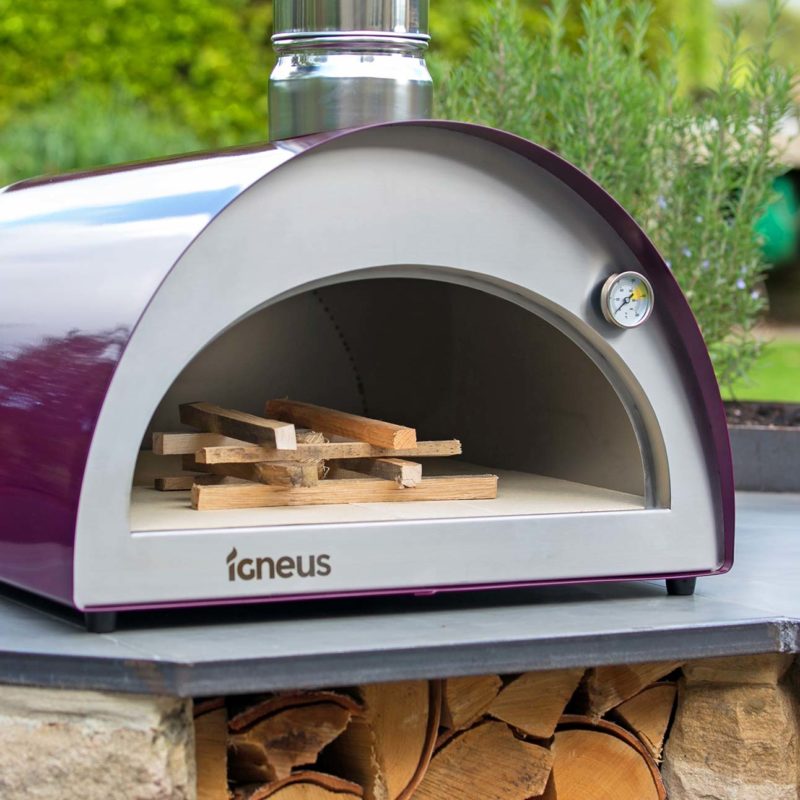
Pop a couple of natural firelighters down as your base, then build kindling or small splits up and around them in a loose lattice (as if you’re building a loose Jenga shape). You want gaps for air to move through, not a tightly packed pile that just smothers itself.
Step 3: Light and Feed Gradually
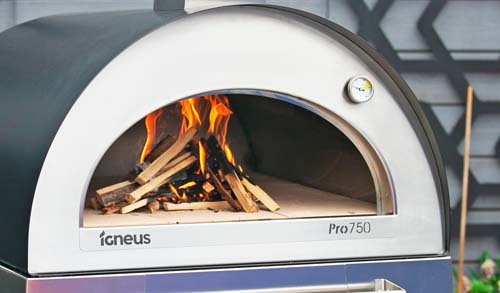
Light it and resist the urge to pile everything on at once. Add a fresh piece of kindling every minute or so for around 10 minutes. Slow and steady is the key here because we want to build heat in layers rather than try to force it in one go.
Igneus Pro Tip: Little and often beats a big dump of wood every time. When you add each new piece of kindling, try to lean it against the fire rather than position it directly on top. This allows the fire to spread across the floor of the pizza oven and heat the entire stone.
Step 4: Build to Temperature
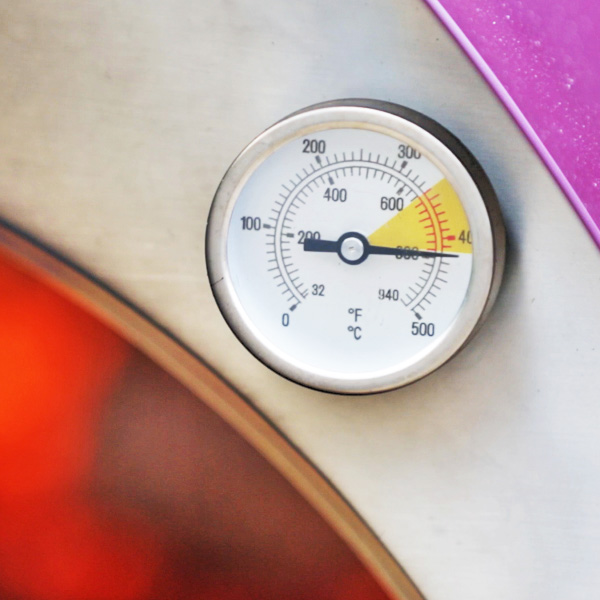
By around the 10-12 minute mark, you should be closing in on our target temperature of around 500°C. You want to get to that 500°C mark to allow the oven to saturate and the fire to settle into a steady, rolling rhythm. Keep feeding it for a few more minutes to let things settle and stabilise properly rather than just hitting temperature and hoping for the best.
Igneus Pro Tip: Getting your hands on an infrared thermometer is a good idea to accurately assess the temperature of the oven’s floor. However, if you don’t have one, watch the flame. Once it’s tall and pale rather than low and orange, you’re nearly there.
Step 5: Rake Back and Add Larger Logs
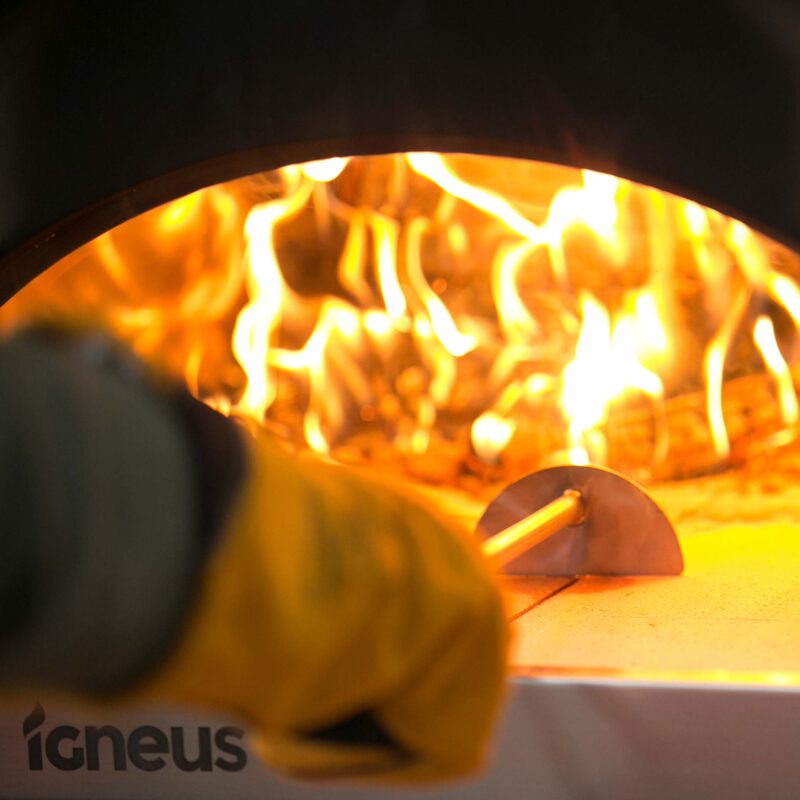
Once you’re at or close to temperature, use a rake to push the fire to the back of the oven. Add two larger logs on top to keep the heat going, and allow the logs to catch and establish a steady flame. Don’t worry if the temperature rises above 500°C when you first add fresh logs; this is normal. Just give it time to settle back down to an operating temperature of around 450°C.
Step 6: Maintain Your Heat
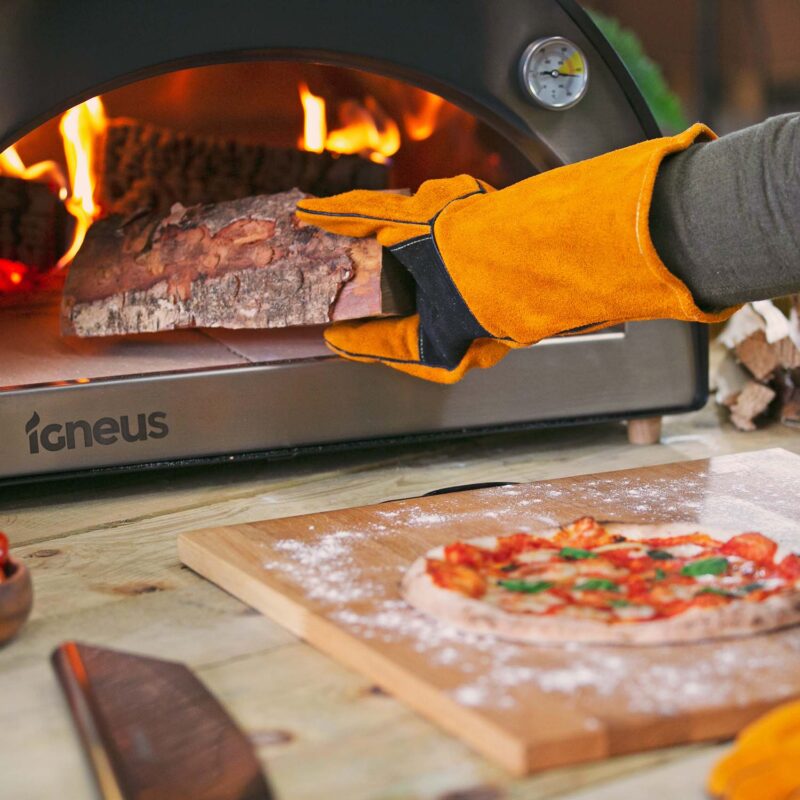
Once those bigger logs catch properly, you should be sorted for a good while, plenty long enough to get through several pizzas without needing to add anything else. If you’re cooking for longer or feeding a large crowd, just top up as you go, but always remember to allow that few minutes between adding fresh wood and the oven returning to the correct temperature.
Final Thoughts
None of these steps is complicated, but it does reward a bit of patience and practice. Once you’ve done it a handful of times, it stops being a method to think about and just becomes second nature. And that’s really the whole point of an Igneus oven: it’s built to make this kind of care pay off, bake after bake.
If you want to purchase any of the accessories of wood mentioned in this article, click here. And if you need any further help, just give our friendly team a call on 01423 575885 or DM us on our social channels.